Frame & Powdercoating
Frame Disassembly
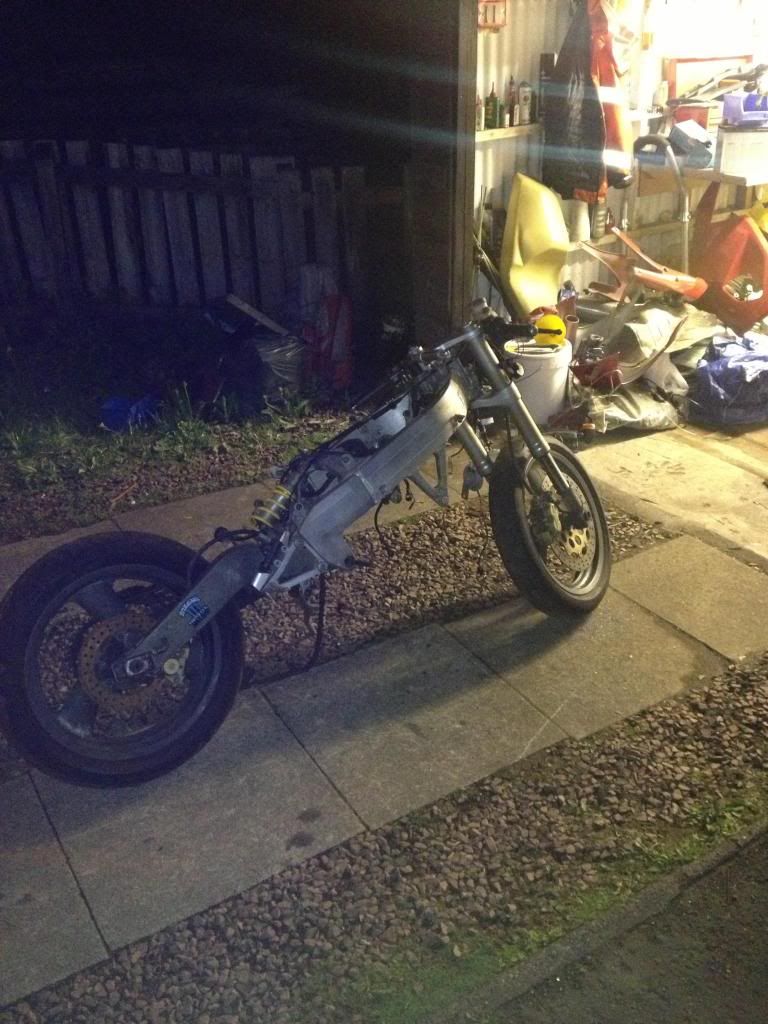
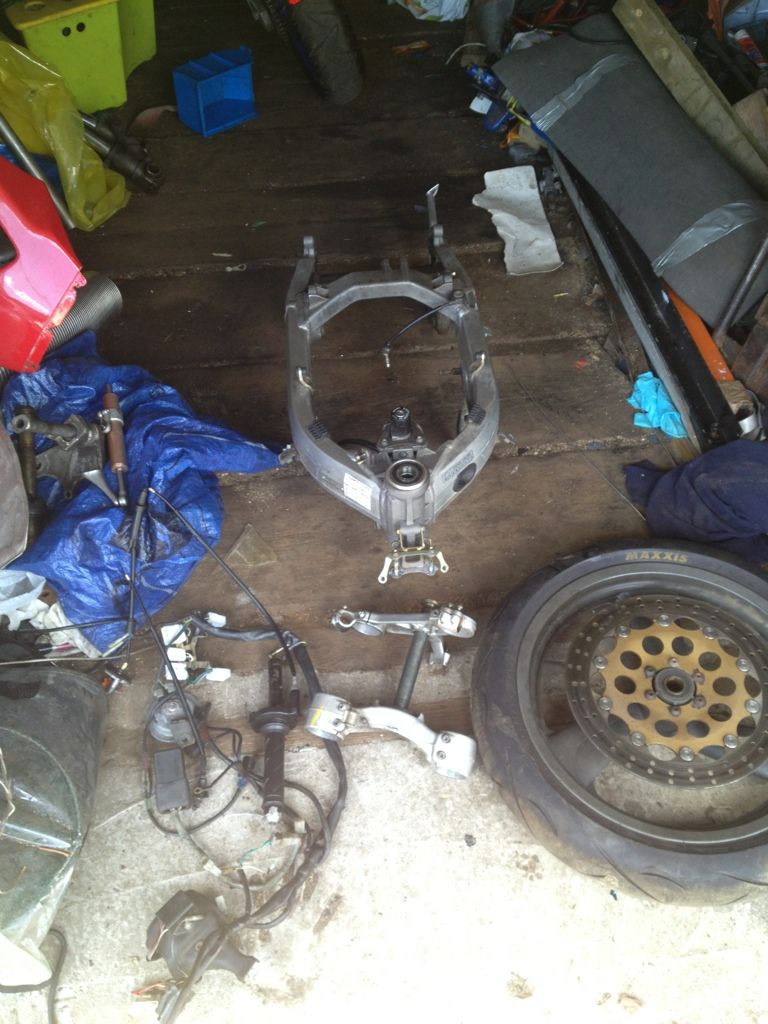
What I started with today, engine has been out for a while so thought I would crack on with stripping it.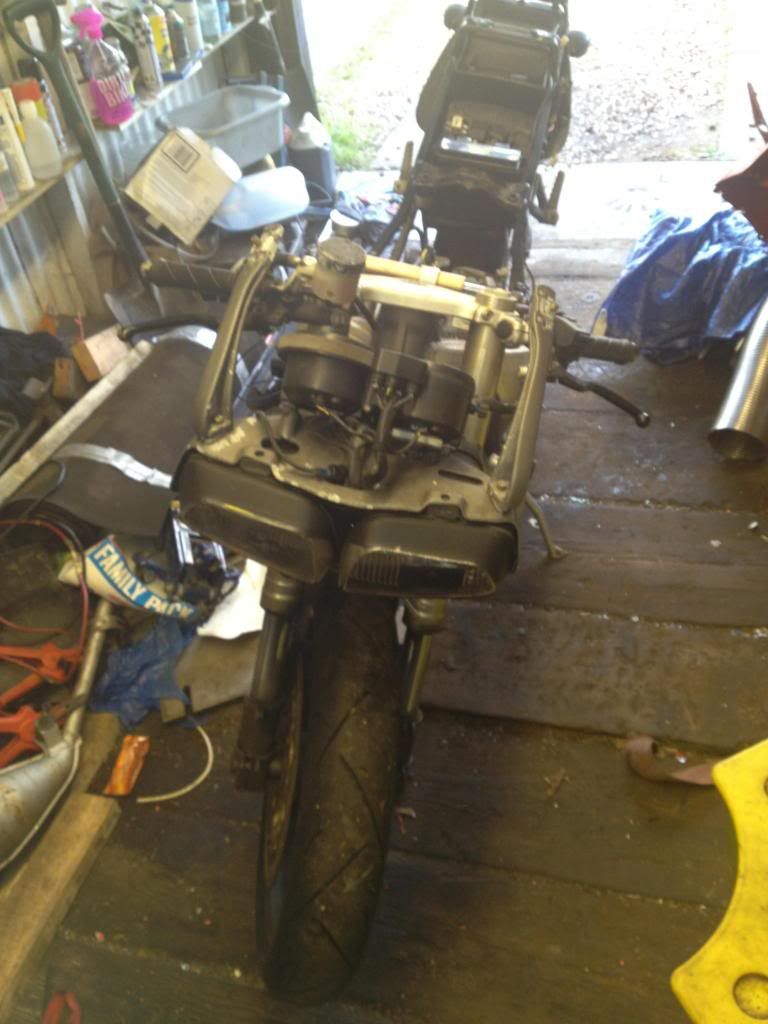
Front Light Removal
Thought I would do a little how-to for the front light disasembly and removal. I do not include panel removal as I am not sure which panels are required for removal, due to the fact that mines has never had it's panels on since I bought it. Okay, as per usual, pictures speak a thousand words.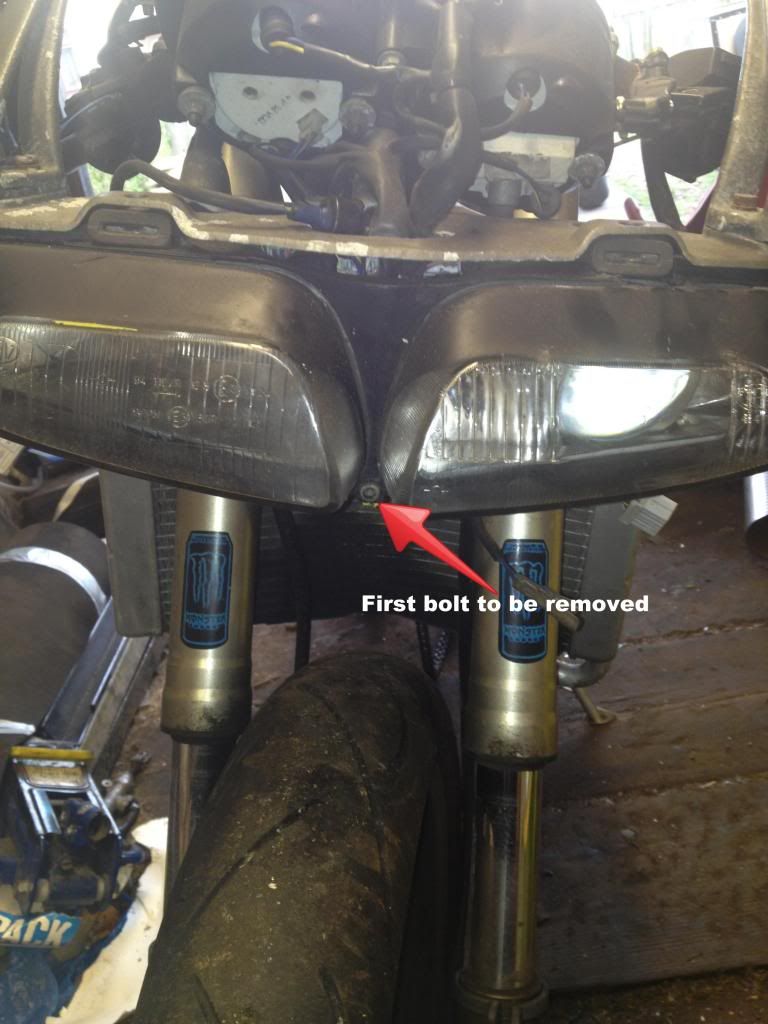
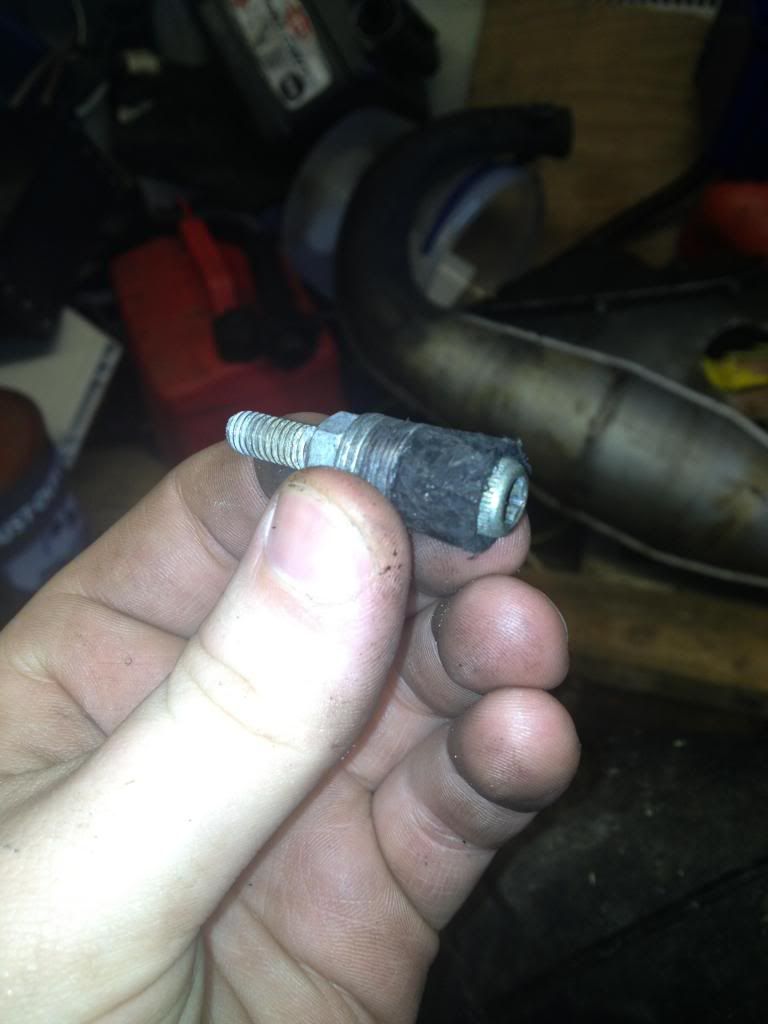
My bolt looked like the picture on the right, I don't think yours will look like that as it looks as if the previous owner has cowboyed it. I could be wrong though.
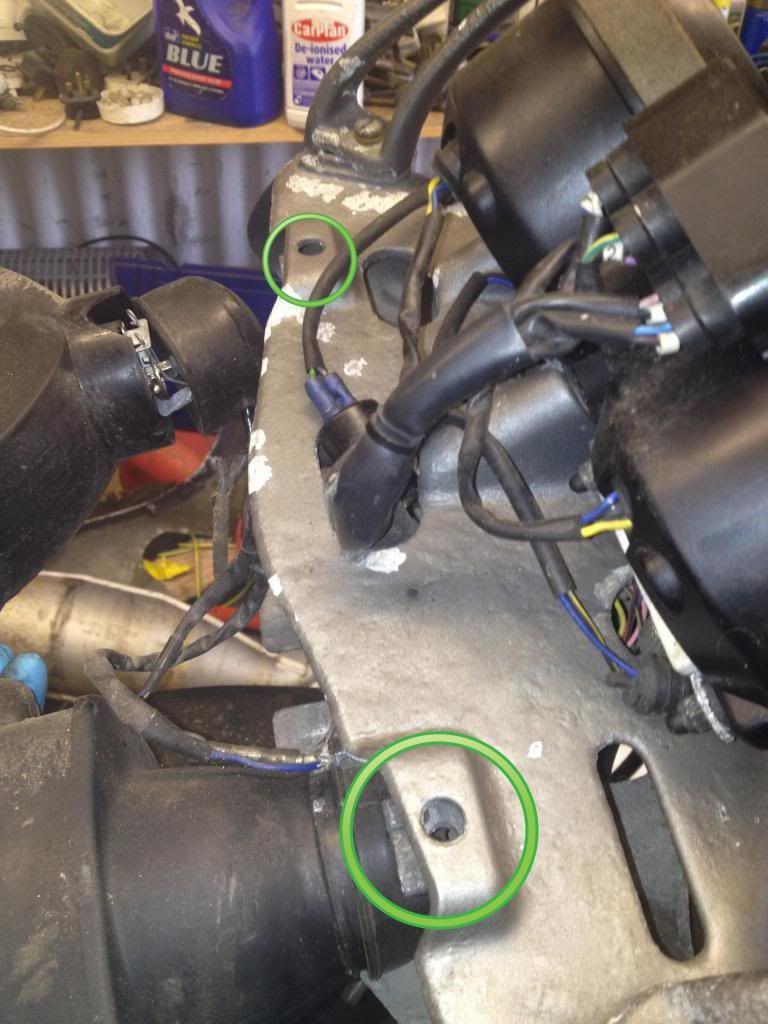
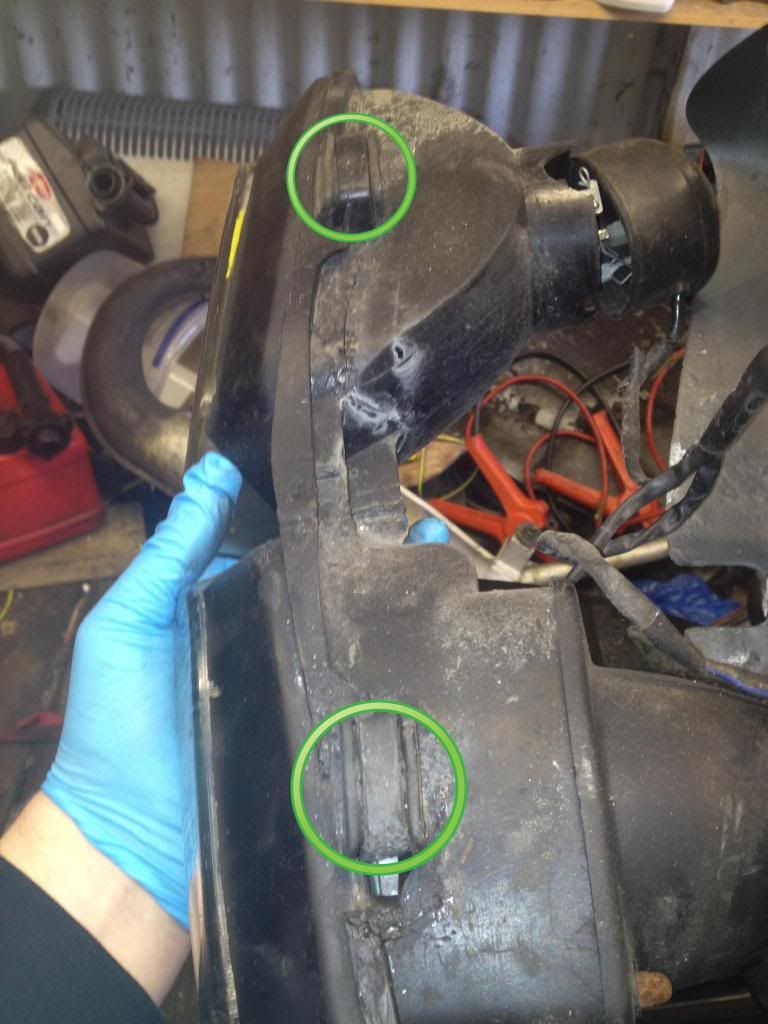
In order to remove the light I found it was required to push the little circled tabs down. Also remember to disconnect the electrical connections to the light.
The little tabs sat inside the circled compartments on the right picture below. Note my light is pretty smashed up, may invest in a new one, or may repair this one.
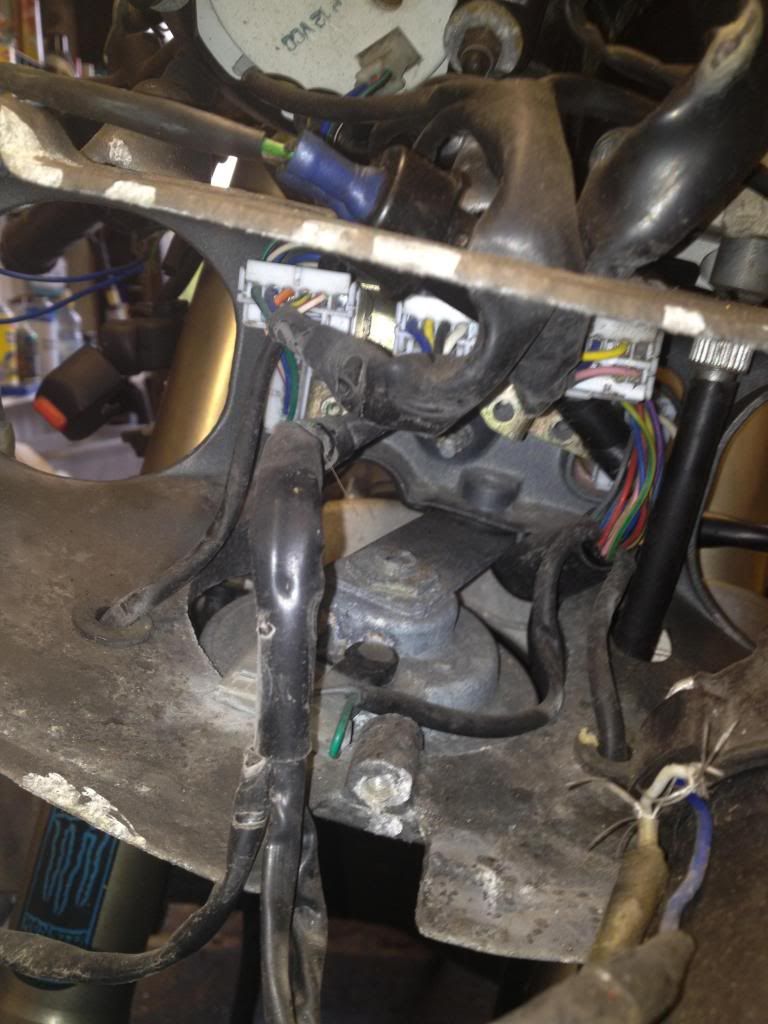
This gives you access to the electrical connectors for the clocks now, if you reach in then you are able to push down the little tabs as usually found on electrical connections, and pull them out. You can then feed the clock wires up through the hole to where the clock sits.
Next step that is required of you is to disconnect two little bolts(yours may have more than two) to disconnect the gold coloured plate of metal that holds a few of the electrical connectors.
There are 3 bolts that hold the clocks in place as pictured below. Remove these three along with the speedo cable and the clocks will be able to be removed. I only managed to picture two of them as I did not realise the other was there until I was finished because mines was snapped.

Finally, in order to get the wires out of the headlight holder unit itself , you are required to move the horn, which is done by removing the bolt circled below from the space just above it.
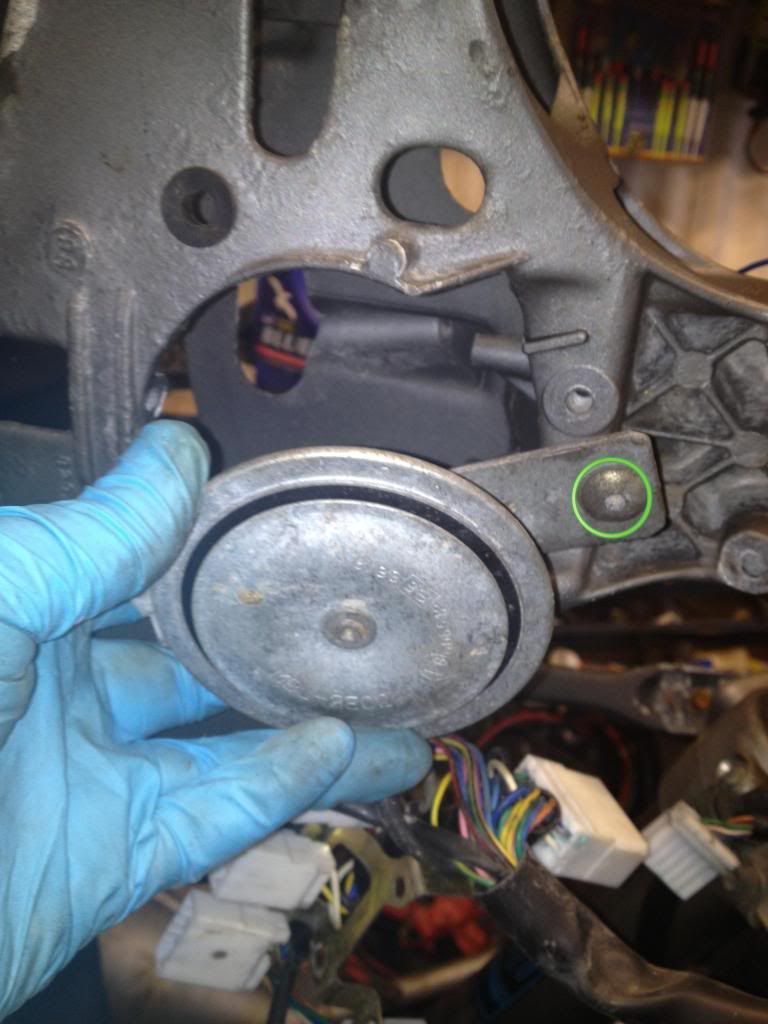
After this step you are able to pull the cables through, including the gold coloured plate.
Now that everything is disconnected(remember to disconnect the electrical connections at the left and right hand side of the light housing) there is only two bolts left to disconnect. It is the two pictured below.
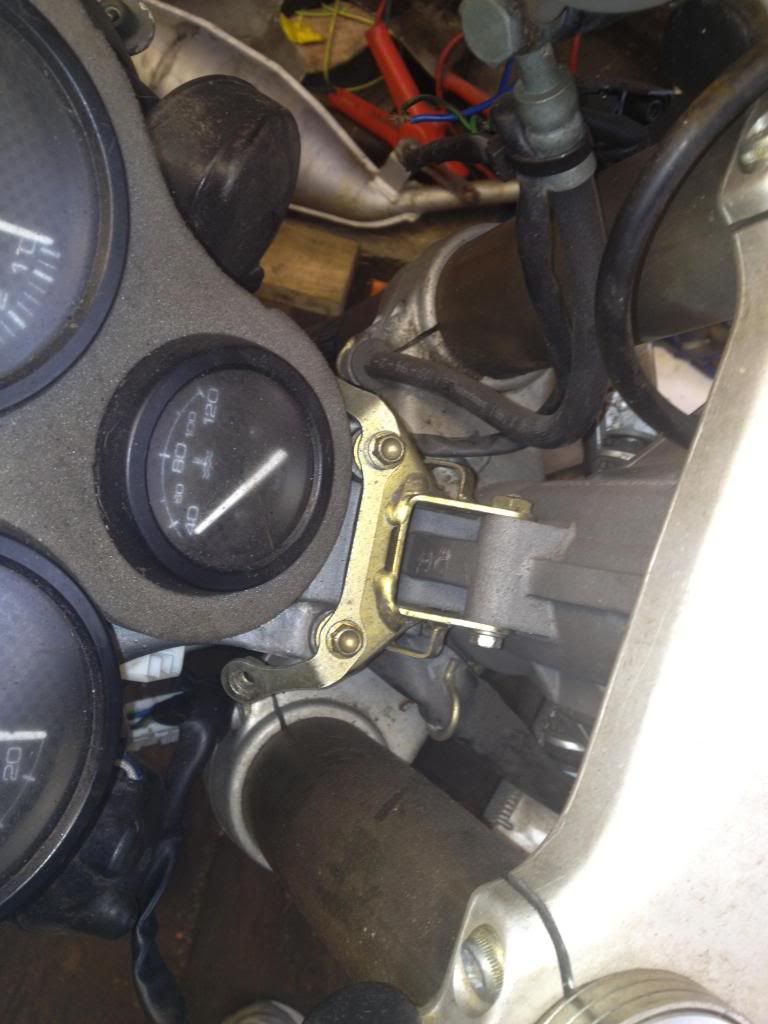
The last two steps can be reversed if you are having trouble getting to the bolt for the horn.
Rear subframe
Unfortunately I did not get many pictures of this part, I just made sure to disconnect all of the required electricals, and also the rear master cylinder is bolted onto the rear sub-frame, only one bolt holding it, so its an easy job. Then there is 4 main sub-frame bolts connecting the sub-frame to the main frame. Then I also took the under-tray off and the registration plate mount.
This is what the bike looked like by the end of tonight, looking all stripped.
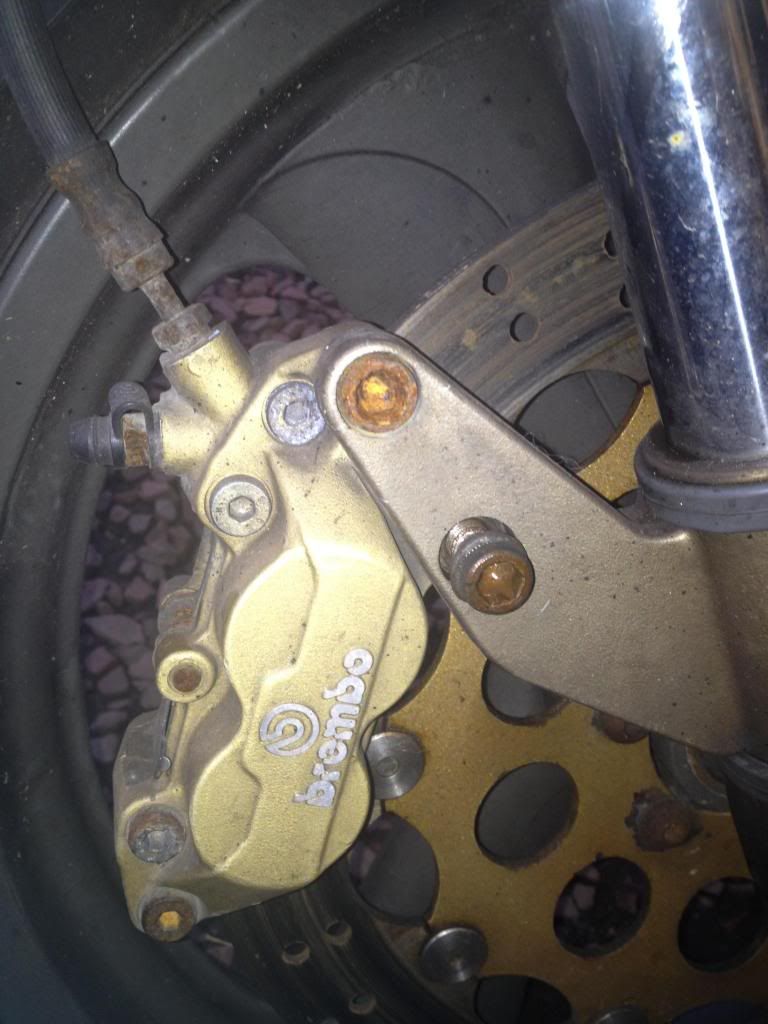
The front brake is putting up a bit of a fight, as you can see from the image below the top bolt is completely rounded, and it wasn't even my fault, it was infact already like that! So my dad drilled the head off and the plan of action it to take the front wheel off and then get the caliper in the vice and get the bolt out.
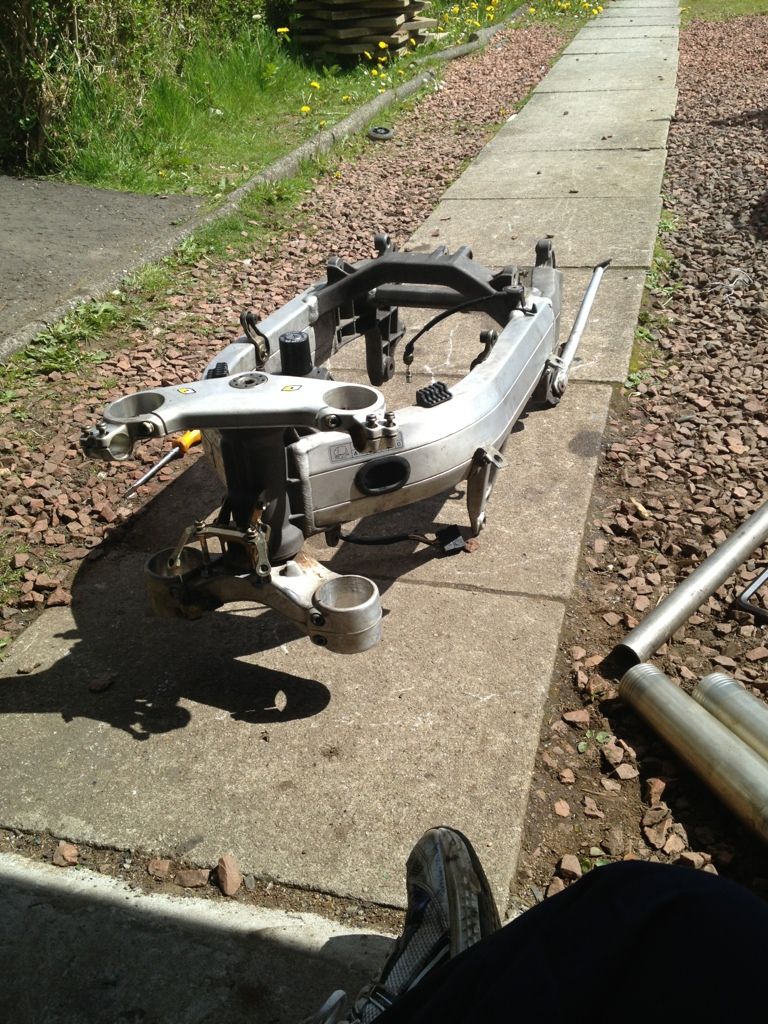
The Frame As It Currently Sits
The frame, as it sits currently, it is ready for a sandblasting and powdercoating. I have the money sitting, I just NEED to decide on some form of colour scheme.
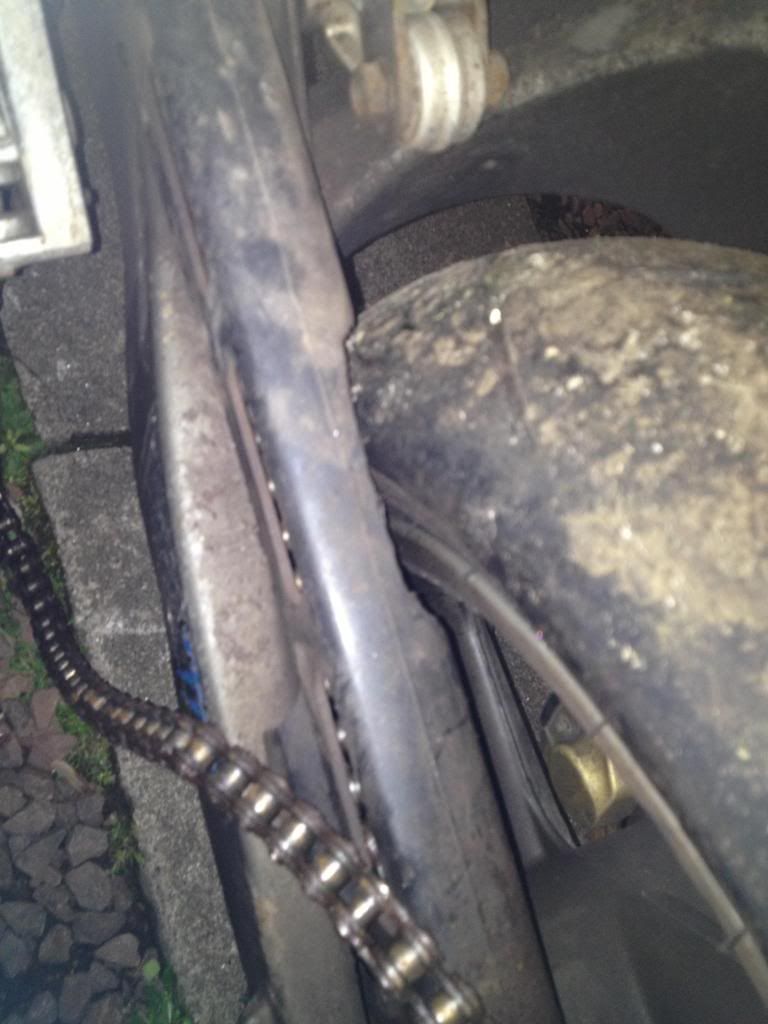
Slightly too fat rear tyre.
SO, Update!
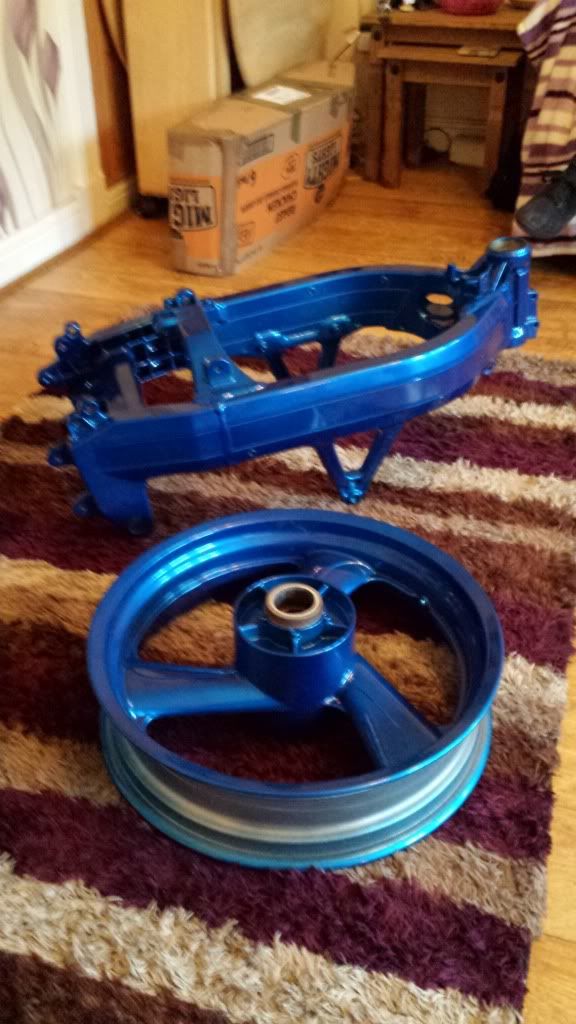
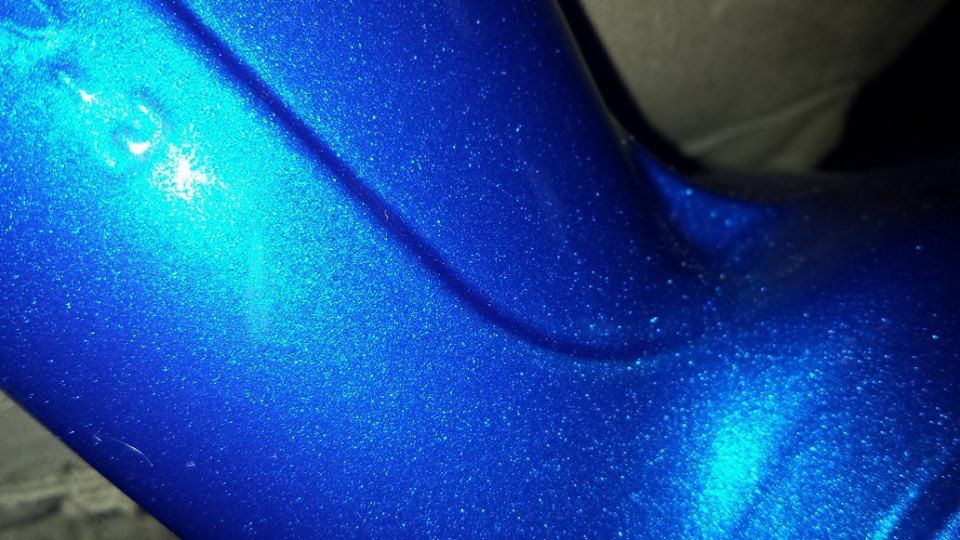
The frame, wheels, swing arm and headlight bracket have all been powder coated. It is an interesting colour really, some people might not like it, but I think when finished it will be wicked.Anyway, IMAGES!
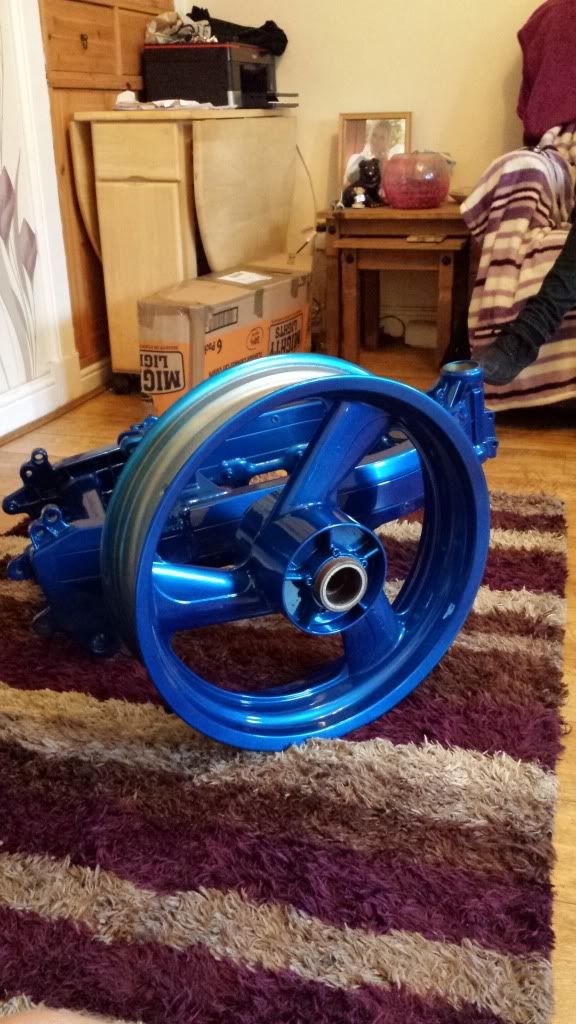
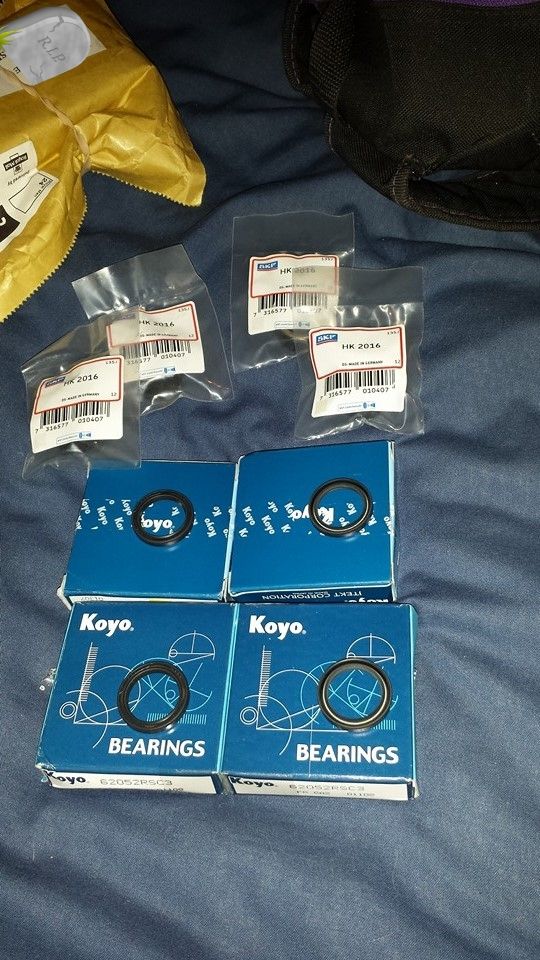
Skf swinger bearings with r23 type seals, koyo main bearings and koyo headstock bearings to go with the skf bearings recently fitted to both wheels.
The wheels have also currently been fitted with a set of race scrub pirelli supercorsas. These will make turn in slower due to the larger tyre diameter, as they do not come in standard size, but this trade off may be worth it for the amazing grip that the supercorsas provide.
thanks for sharing.
ReplyDelete